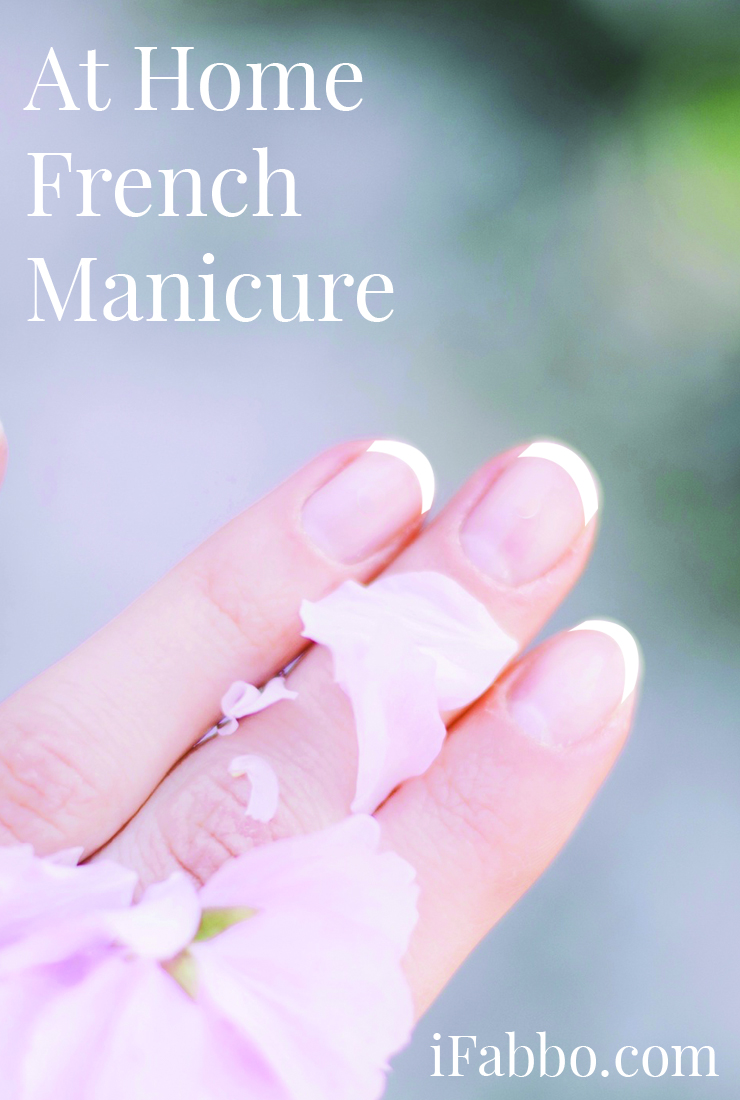
Looking for a French manicure how to? Then you’ve definitely come to the right place! This DIY tutorial takes you through a how to French manicure…for your toes.
And we’ve even got pedicure pics to boot!
French Manicure How To
Every spring when the weather begins to change, I cringe to think of all of the new items being added to my to-do list. Making sure that my toes are ready for summer sandals is close to the top of my list! It’s easy to make a mad dash to the salon for a quick French pedicure, but it’s just as easy to pamper your feet from the comfort of your own home! (And, it costs a lot less too!)
Let me show off my French manicure how to…for your toes!

Gathering supplies for your DIY French pedicure is simple! Before you begin, make sure you have white nail polish, clear nail polish, nail polish remover, a flat head paintbrush, and a washcloth.
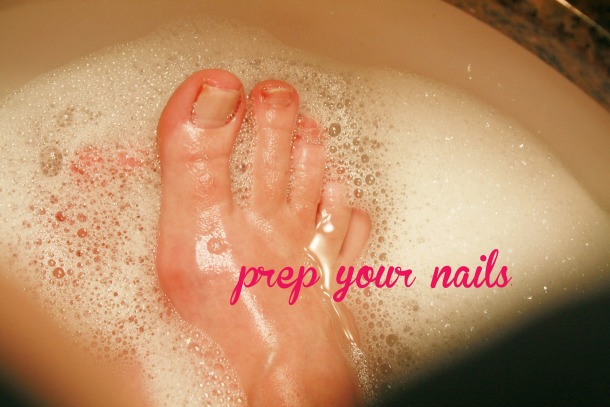
To prep, cut your nails, and then soak your feet for a few minutes to soften your cuticles.
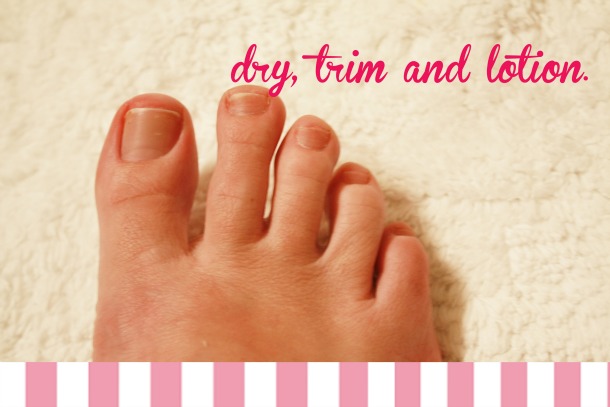
Push your cuticles down, file your nails straight, and then rub some lotion into your feet. Allow your feet time to let the lotion soak in.
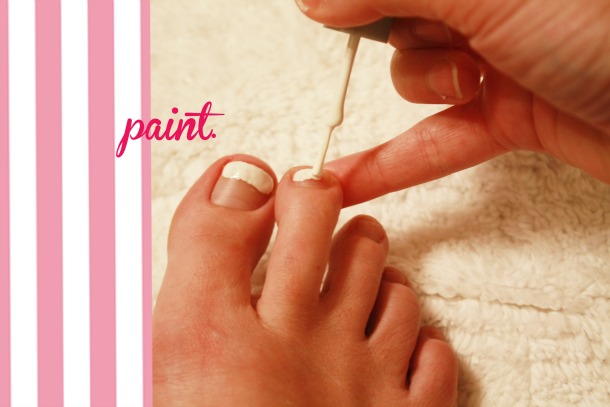
Once your nails have been prepped, paint the upper quarter of your toenail with the white polish. It may take two coats to completely cover. Don’t worry about neatness!
Make sure all of your toes are covered with the white polish. Don’t get scared about how your toes are looking at this point and give up! Things will shape up in the next few steps!
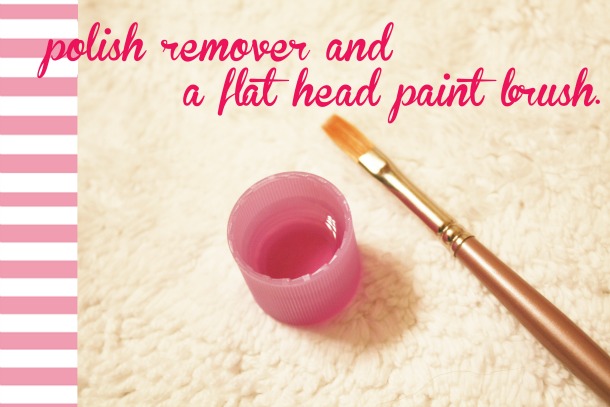
While you let your toes dry for a second, pour some nail polish remover into a small cup or bowl. (I used the cap of the bottle.) Make sure your flat head brush is ready to go!
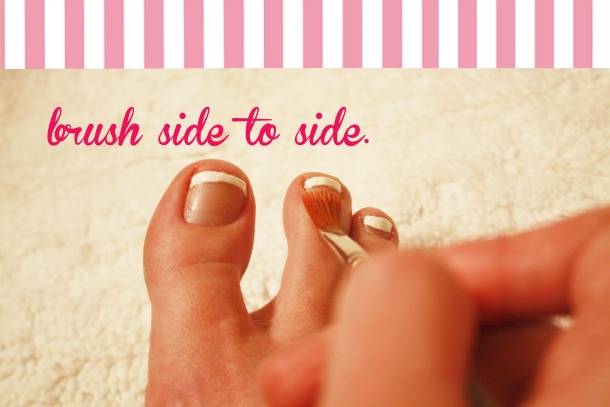
Carefully dip the brush into the polish remover and using a side to side motion, brush just under the white polish, removing excess and straightening your polish lines. When the white polish collects on the brush, wipe it on the washcloth. You will be doing lots of dipping and lots of wiping.
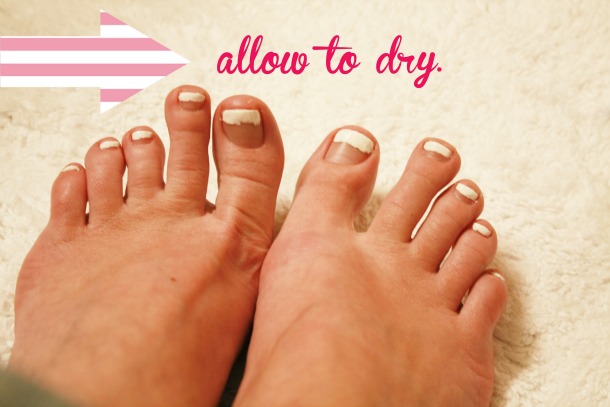
 Don’t wipe up the excess nail polish remover, you will smudge your lines! Allow the remover to dry.
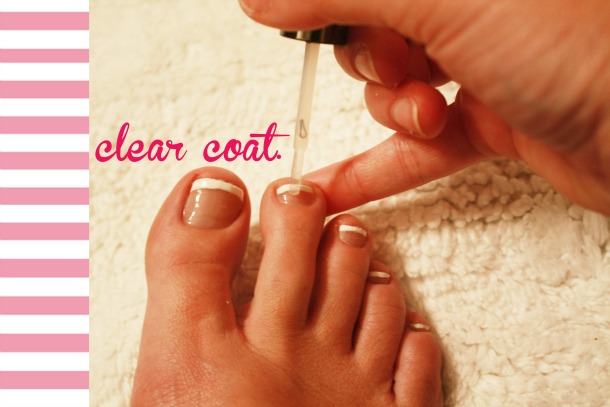
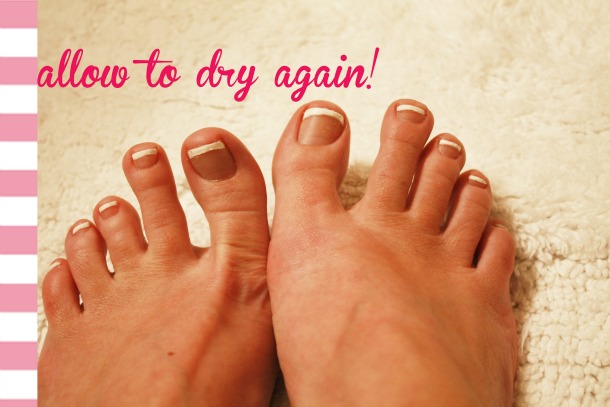
Top your French pedicure off with a coat of clear polish. This will protect your DIY French pedicure, add shine, and fix any little imperfections.
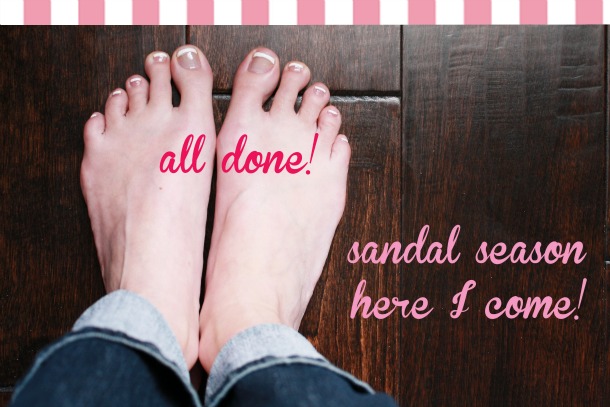
After your polish is dry, your feet are ready for your spiffy spring sandals!
Wasn’t that fun?! Apply this same process to your hands and this tutorial just became a French manicure how to.
Author: Emily Louise